
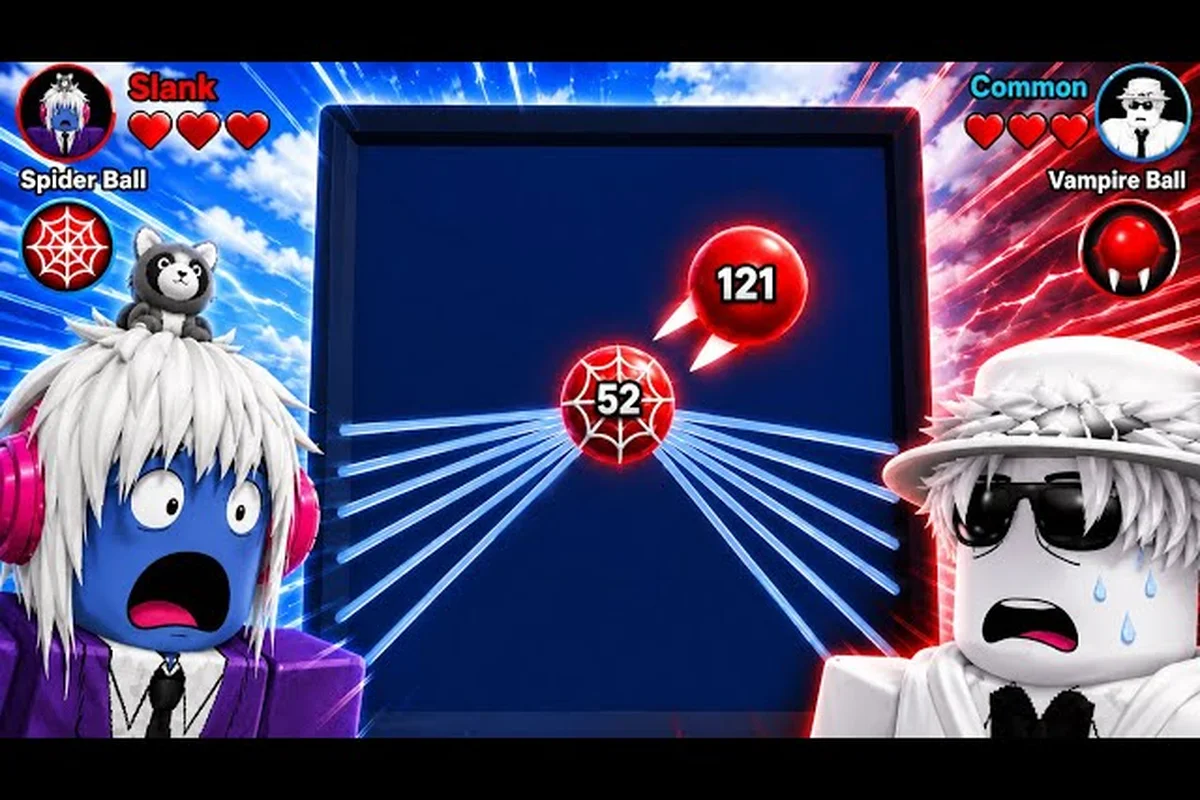
In a 25-player arena, knowing when to engage is worth more than any ball on your roster. Ball VS Ball aggressive play rewards players who read the round correctly, pick the right moment to swing, and back off before the third party crashes the fight. The official Roblox listing describes the loop simply: balls appear randomly, you pick one, you reroll mid-battle, and winning fights is what feeds the coin engine. That same loop is what makes the fight-or-run decision the single highest-leverage skill in the entire game.
According to the Ball vs Ball Aggressive Play – Official Gameplay Guide, the core mechanic rewards players who maintain constant offensive pressure, as successful aggressive plays generate momentum boosts that compound with each consecutive successful challenge against an opponent.
The Aggression Spectrum: Where Every Round Lives
Aggression in Ball VS Ball is not a binary switch. It is a sliding scale, and every match has a point on that scale that shifts as the player count drops. A round that starts with 25 players and ends in a 1v1 demands a different mindset at every step.
The most common mistake newer players make is locking in one tempo. They either sprint into every fight they see and bleed HP and rerolls, or they hide on the edge of the ring and never build the coin income needed to upgrade. According to community testing, the players who climb fastest treat the first half of a round as scout mode and the back half as execute mode. That two-phase read is the foundation of every aggressive decision the rest of this guide is built on.
| Phase | Player Count | Default Read | Aggression Level |
|---|---|---|---|
| Opening scramble | 25 → 15 | Find a ball, find a route | Low — pick fights only |
| Mid-game pivot | 15 → 8 | Rotate to power position | Medium — punish overextends |
| Late-game squeeze | 8 → 3 | Hold the ring edge | High — pick or be picked |
| Final 1v1 | 3 → 1 | Center the map | All-in — no third party possible |
The opening scramble is where most players overcommit. With 25 balls in the arena at match start, the reroll cooldown is the binding constraint, not raw HP. Spending two rerolls in the first 30 seconds to chase a single kill usually ends with the aggressive player sitting at low HP with a below-average ball. Hold the line, get your footing, and let the chaotic first 60 seconds thin the lobby for you.
A practical rule: in the 25-player opening, every engagement is a coin-flip trade unless you have a clear ball advantage or a positional edge (high ground, ring on your side, opponent near a wall). If neither is true, cut the fight short after one cycle of damage and rotate. This is where the beginner guide breakdown of opening-round logic lines up with the fight-or-run math — both want you to survive the first 60 seconds with resources intact.
Ball VS Ball Movement: The Underrated Half of Aggression
Movement is what turns a "go in" decision into a successful fight. The official loop is simple on paper — pick a ball, hit people, win, earn coins — but the gap between players who win and players who feed is almost entirely a movement gap. Dash, jump, weave, and break line-of-sight are the four tools that decide whether your aggressive press lands cleanly or trades one for one.
Reading the Arena Before You Press
Before committing to any aggressive play, scan for three things in this order: the ring direction, the nearest third party, and the opponent's ball family. The ring tells you who has to move first; the third party tells you how long your fight window is; the ball family tells you whether you win a straight trade.
Ball family trade reads:
| Your Ball Family | Beats | Loses To | Trade Verdict |
|---|---|---|---|
| Ball (basic) | Trades evenly with most families | Burst combos, long CDs | Even fight |
| Explosion | Clumps, grouped players | Mobile single targets | Favorable vs groups, poor vs roamers |
| Flyer | Stationary targets, low-mobility balls | Sustained DPS, shields | Favorable when opponent is locked in |
This table is not the whole meta — the combat guide's matchup matrix goes deeper into family-vs-family numbers — but it gives you the instinct: Flyer beats a still target, Explosion beats a clump, and basic Ball wins when nobody is surprised. Aggressive play means creating the moment your family wins that matchup, then pressing it.
Dash, Jump, and the Whiff Punish
The dash ability is the single most important movement tool for aggressive play. It serves three roles in sequence: engage, reposition, and escape. The mistake most newer players make is using all three dashes on the engage and having nothing left for the escape. Save the third dash. Always. If the fight goes sideways, the third dash is what gets you out before the reroll cooldown finishes and the third party shows up.
Jumping is a desync tool. In a 1v1, jumping on engage breaks the opponent's auto-aim and forces them to re-lead their shot. The trade-off is that you cannot change direction mid-air, so jump only when the opponent has committed to an attack, not when they are still reading your approach.
Weaving is the bread-and-butter. Side-to-side movement at medium range makes you a hard target to lead, and at close range it forces the opponent to commit to a swing direction. Community testing from high-rank clips suggests the players who win trades move roughly 30% more per second than the players they beat, and almost all of that extra movement is lateral, not forward.
Ball VS Ball When to Fight: Five Green-Light Conditions
Knowing when to fight is the hard half of the fight-or-run decision. Aggressive play is not "press W on sight" — it is a checklist. If five conditions are not true at the same time, the correct read is to break off and rotate. Pressing into a fight that fails the checklist is what turns an aggressive player into a feed.
The Green-Light Checklist
-
Ball advantage — your ball beats the opponent's family in a straight matchup, or you have a clear damage edge from a tier gap.
-
Position advantage — you have high ground, the opponent is near a wall, or you are between the opponent and the ring edge.
-
No third party in line of sight — the nearest other player is more than one screen away, or the ring is pushing them away.
-
HP and resources above 70% — you have the rerolls and the shield/heal cooldowns to absorb a reversal.
-
Ring is on your side or neutral — the opponent is forced to move, you are not.
When all five are true, the answer to "should I press?" is yes. When any one is false, the answer is almost always no, and the cost of pressing anyway is the match. The five-checklist read is the same logic that the how-to-win article on match strategy uses for its late-game rotation rules — the principle is that fights are won before the first hit lands.
The Red-Light Triggers
Just as important as the green lights are the red lights. These are the conditions where aggressive play is structurally wrong, and pressing into them is what turns a 12-kill run into a 1-and-out.
| Red-Light Trigger | Why You Run | Recovery Action |
|---|---|---|
| Opponent has shield or heal up | You cannot burst them in one window | Reroll if off-family, rotate |
| You are on the wrong side of the ring | Forced fight or forced ring damage | Burn movement to reset position |
| Two or more enemies in LoS | You will be the third party's kill | Disengage immediately, use terrain |
| Your ball is mid-reroll cooldown | You cannot adapt if the trade goes bad | Play passive, wait for cooldown |
| Opponent just won a fight | They have HP advantage, you are the next target | Full retreat, regroup |
A single red light is enough to override four green lights. The aggressive player is not the player who ignores risk — that is the feeder. The aggressive player is the player who has read the risk correctly and pressed only when the odds are stacked. That is the difference between Ball VS Ball aggressive play and Ball VS Ball feeding.
Ball VS Ball When to Run: The Disengage Skill
Running is not the opposite of aggression — it is part of the aggressive toolkit. The whole point of a smart fight is that it sets up the next smart fight. Disengaging correctly is what gives you the resources to take the next engagement on your terms instead of the opponent's.
Three Disengage Patterns
There are three reliable ways to break a fight cleanly, and each one fits a different scenario. The mistake players make is reaching for the same disengage every time, which is exactly how the opponent learns to punish it.
| Disengage Pattern | Best Used When | How It Works |
|---|---|---|
| Hard retreat | You are losing HP fast, no cooldowns | Dash away, break LoS, heal behind cover |
| Fake retreat | Opponent is overaggressive, you have cooldowns | Dash back, bait the chase, punish the overextend |
| Third-party bait | Another player is closing in | Stop fighting, let the third party engage your opponent |
The fake retreat is the highest-skill disengage, and it is where aggressive play becomes an actual weapon. When the opponent reads your dash as panic, they will chase, and chasing players overextend into your next ability window. The trade is that you need the cooldowns to make the punish real — if your dash, shield, and burst are all down, the fake retreat is just a real retreat with extra steps.
The third-party bait is the most underrated. The 25-player arena means that almost every fight has someone watching from a screen away. If you see that third party closing, the correct read is often to stop hitting the opponent and let the third party do the work. You will often pick up the kill on whichever side of the 1v1 is left standing, and you spend zero resources on the opening fight. This pattern only works in the early and mid game — in the final 1v1 there is no third party to bait, and the disengage becomes pure retreat.
The HP Threshold Read
A practical rule community players tend to converge on: disengage at 50% HP unless the opponent is also below 50%. Two full-HP players fighting to 50% each is a coin flip; one player at 50% and one at 100% is a loss 80% of the time. The 50% threshold lines up with the heal ability's value window, so if your heal is up and the opponent is below 50%, you can stay in. If your heal is on cooldown, the threshold drops to 70% — you are not winning a drawn-out fight at 60% with no heal against a 100% opponent.
Ball VS Ball Battle Royale Style: Adapting to the Ring
The shrinking ring is the structural reason the game feels like a battle royale, and the ring is what makes aggression work or fail. Players who fight without reading the ring end up taking ring damage on top of fight damage, which collapses their HP faster than they can reroll through. Players who read the ring correctly use the ring as a weapon — every opponent on the wrong side of the line is forced to take a bad fight or take ring ticks, and that is exactly the situation an aggressive player wants to create.
The Ring as a Weapon
The ring closes in roughly even steps across the round, and the safe zone shrinks to roughly half the arena by the 8-player mark and a tight center circle by the 3-player mark. That shrinking safe zone is what forces engagements, because players who do not move eventually run out of arena to hide in. Aggressive players use this pressure to convert positioning into kills without burning cooldowns.
Ring-pressure reads:
| Player Count | Ring Size | Pressure Level | Aggressive Read |
|---|---|---|---|
| 25 → 15 | Large | Low | Hold routes, punish overextends |
| 15 → 8 | Medium | Medium | Push players on wrong side of ring |
| 8 → 3 | Small | High | Hold ring edge, force 1v1s |
| 3 → 1 | Tiny | Maximum | Center map, no hiding |
The most powerful read in the late game is the ring edge hold. When the ring is shrinking toward a corner, the players inside the corner are forced into a smaller and smaller area, and the players on the outside have all the angles. Holding the ring edge and waiting for the corner players to commit to a rotation is the cleanest aggressive play in the game. It costs you nothing in HP, it uses the game's own structure as the kill tool, and it almost never loses a trade.
Avoiding the Ring Squeeze
The other side of the same read is knowing when you are the one being squeezed. If you find yourself near the corner when the ring is closing in, the correct read is to rotate early — before the other players on the ring edge have lines on you. Waiting until the ring is two ticks from closing is how aggressive players get caught in the corner with no escape and no heal. The 50% HP rule applies double here: at below 50% HP, you cannot afford the ring ticks and a 1v1 in the same exchange, so rotate sooner rather than later.
Ball VS Ball Max Players: How Lobby Size Changes the Aggression Math
The official Roblox listing describes the format as 25-player matches, and that player count is the single biggest factor in how aggressive play should be tuned. A 25-player arena is far more punishing for overaggression than a smaller lobby would be, because the third-party window is open almost constantly in the early game.
How 25 Players Reshapes the Fight
With 25 players in a round, the average fight will be interrupted by a third party within 8 to 12 seconds. That window is what makes the "no third party in line of sight" green light so important, and it is what makes the third-party bait disengage pattern so valuable. A 1v1 in a 25-player round is not a duel — it is a 1v1 that becomes a 1v2 within ten seconds unless you end it fast or break it off.
Aggression tuning by player count:
| Player Count | Time to Third Party | Aggression Budget | Engage Length |
|---|---|---|---|
| 25 | 8–12s | Low | One cycle of damage |
| 15 | 12–18s | Medium | Two cycles |
| 8 | 20–30s | High | Full combo |
| 3 (final) | None | All-in | Until one side is dead |
The "one cycle of damage" rule at 25 players is the structural reason aggressive play is risky early. You cannot burn your full combo on a 1v1 at 25 players and expect to still be able to handle the next fight. A single cycle — one ability rotation, one dash in, one dash out — is the maximum commitment you should make in the opening. Anything longer is an open invitation to a third party, and the third party almost always wins the 2v1.
By the time the lobby hits 8 players, the third-party window opens up to 20 to 30 seconds, which is enough time for a full combo on a single target. This is the phase where aggressive play becomes the dominant strategy, because the players who held resources in the early game now have full cooldowns and the room to use them. By the 3-player final, the third-party window is gone, and the round becomes a clean 1v1 where the better player wins. That is the round where every aggressive decision compounds, and the early-game discipline pays off.
Why Hiding Never Wins
A common question community players ask is whether the safer alternative — hide on the edge of the ring, never engage, and try to survive to the final 1v1 — actually works. The answer, according to high-rank clips and the round structure, is no. The ring closes; the safe zone shrinks; and a player who never engaged in the early game is forced into fights at 30% HP against players who are still at 80% from a clean rotation. The hiding player loses the late-game fights because they used their resources on survival instead of on coin income and ball upgrades. The aggressive player who used the early game well is fully stocked, fully healed, and ready for the final 1v1.
The lesson is not "be aggressive all the time" — that is feeding. The lesson is "use the early game to spend resources on winnable fights, then carry the HP and the cooldowns into the late game where the third-party window closes and the clean 1v1s begin." The 25-player round rewards players who balance aggression and discipline. The players who climb are the ones who learn the balance.
Frequently Asked Questions
What is the most important rule for Ball VS Ball aggressive play?
The single highest-leverage rule is the no third party in line of sight check. In a 25-player round, the third-party window is 8 to 12 seconds, and any fight that runs longer than that is a 1v2 waiting to happen. Always scan for closing players before pressing an engage, and break off the moment a second enemy enters line of sight.
When should I run instead of fight in Ball VS Ball?
Run when any one of the red-light triggers fires: your ball is mid-reroll cooldown, the opponent has shield or heal up, two or more enemies are in line of sight, you are on the wrong side of the ring, or your HP is below 50% without a heal available. A single red light overrides four green lights, and the cost of pressing anyway is almost always the match.
How does the 25-player lobby change aggression in Ball VS Ball?
The 25-player format is what makes the early game so punishing. With 25 players in the arena, the third-party window is open almost constantly, which means every fight is a 1v1 with a timer. The opening phase demands low aggression and short engagements, while the back half of the round — once the player count drops to 8 or 3 — opens up the room for full combos and decisive engages. The aggressive read changes with the player count, and the players who win the round are the ones who retune their aggression every time the lobby shrinks.
Is movement more important than ball choice for aggressive play?
Yes, at the high-skill level, movement wins more trades than ball choice. Dash, jump, weave, and break line-of-sight decide whether your engage lands cleanly or trades one for one, and community testing shows the players who win trades move roughly 30% more per second than the players they beat. Ball choice sets your ceiling; movement decides whether you reach it. For a deeper dive into how movement and ball choice interact, the how-to-improve progression guide maps the climb loop onto the same principle.