
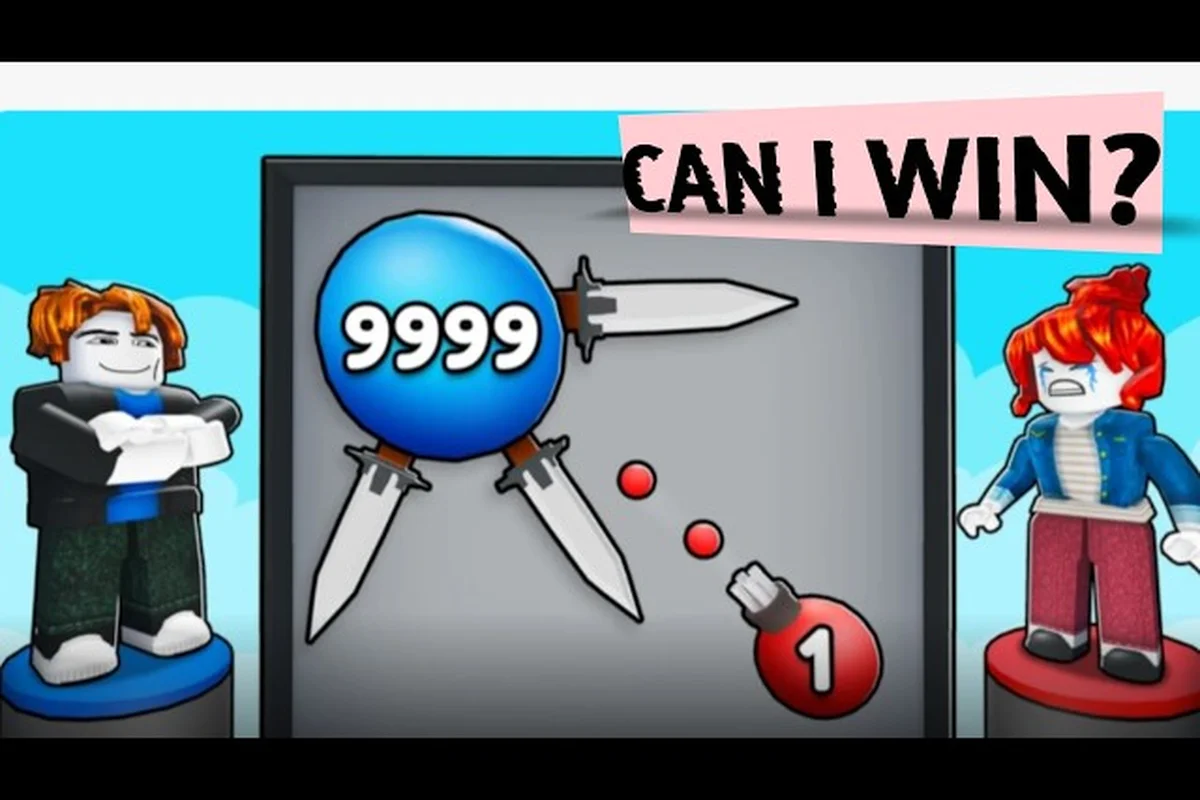
In Ball VS Ball, being the last ball bouncing on the arena is what separates casual rollers from the climb-grade players who own the leaderboard. Surviving to the final moments of a free-for-all requires sharper ring reads, calmer dodging habits, and a practiced sense of when to engage versus when to let two other players knock each other out. The skills that win 1v1s in regular matches become background noise once the map is shrinking and the eliminations stack up.
This guide collects the ball vs ball last one standing tips that players in the community keep coming back to, paired with drills, decision frameworks, and a ranked-up mindset that actually moves your rating. Whether you are trying to survive your first ten matches or push past a plateau in the leaderboard rankings, the habits below are built to be repeatable under pressure.
Reading the Shrinking Ring in Free-for-All Matches
The shrinking ring is the single biggest threat to your survival once the match moves past the opening minute. According to the official Ball VS Ball page on Roblox, the arena contracts as matches progress, which means a ball that was safely orbiting the edge in round one is suddenly pinned against a wall in round three. Players who ignore the ring math die first; players who plan their route around the next contraction live longest.
Timing the Contractions
Each contraction gives a few seconds of warning before the wall starts moving. Treat that window as a free relocation pass rather than a panic sprint. Skim the next safe zone on screen, identify the closest edge, and pre-position along the new boundary so the wall pushes you toward the center, not away from it. The biggest mistake community players report is hugging the current edge and then realizing the next contraction leaves zero room behind them.
Players testing survival drills report the most consistent habit is to glance at the ring every 3-5 seconds during a free-for-all, even when no one is attacking. The first 10-15 seconds of any round are about pathing, not fighting, and that early positioning is what makes the late game survivable.
| Ring Phase | Player Focus | Common Mistake | Survival Habit |
|---|---|---|---|
| Early (full arena) | Route planning, ball reroll decision | Greeding kills far from center | Move toward the center 8-10 seconds in |
| Mid (first contraction) | Re-positioning to new safe zone | Standing on the wrong side of the new wall | Glance at the next ring marker before each fight |
| Late (rapid contractions) | Dodging inside tight spaces | Tunneling on the nearest enemy | Treat the wall as a weapon — let it damage the chaser |
| Final 2-3 balls | Ring control over kills | Chasing the last kill too early | Let the ring force the other ball into a bad angle |
Using the Wall as a Weapon
Late in a free-for-all, the wall is doing free damage to anyone caught in it. Baiting an aggressive ball into chasing you toward a contracting edge is one of the cleaner ways to convert a survival position into a kill. You do not need to land a final hit if the ring finishes the job, and walking away with ring damage on a rival is often worth more than winning a direct brawl at the center.
Dodging Drills That Translate to Endgame Survival
The habit of dodging in a free-for-all is completely different from the habit of dodging in a 1v1. You are no longer reading a single opponent's timing — you are scanning every angle for the next incoming ball, and a dodge that pulls you toward a second attacker is worse than no dodge at all. The drills below are pulled from community training routines and the kind of pattern work that shows up in player-made practice servers.
Reading Two Attackers at Once
When three balls are alive, every dodge has a risk. The cleanest rule players report is: dodge away from the closest threat, but never dodge into the path of a second ball. If both attackers are approaching from the left, sidestepping right is fine, but sidestepping up into the line of fire of a third roller is how you feed eliminations to the lobby.
Practicing this in casual matches before queuing for ranked is a key part of the ball vs ball rank up guide approach. Spend 5-10 rounds focused purely on surviving without throwing a single attack, then review the recordings to spot the dodges that put you in bad positions.
| Drill Focus | Setup | What to Track | Pass Mark |
|---|---|---|---|
| Single attacker reads | 1v1 with a friend | Attack windups, dodge timing | Survive 30s with no hits taken |
| Two-attacker awareness | 3-player free-for-all | Dodge angle, line of fire | Reach the final 2 twice in a row |
| Ring-pressure dodges | Free-for-all on a small map | Wall proximity on every dodge | Survive until the final 3 three times |
| No-attack survival | Free-for-all, dodge only | Distance from the ring, scanner habit | Last ball standing once per session |
Movement Economy
Dodging too often is just as deadly as not dodging at all. Each dash costs stamina and pushes you further from your intended path, so a player who spams the dodge button ends up out of position when the ring contracts. The discipline players describe in community guides is to dodge once per incoming attack, then reset to a neutral orbit. Neutral orbit means a slow, predictable pattern near the center that keeps your dodge ready for the next threat.
Smart Engagement: When to Fight and When to Hide
The hardest part of being the last ball standing is the decision to fight. Aggression wins rounds in the early game, but the closer you get to the final three, the more every engagement becomes a coin flip you do not need to take. Players who climb the leaderboard learn to let two other balls eliminate each other and only step in when the math is overwhelmingly in their favor.
The "Two Threats Left" Rule
When the match is down to you and two other balls, the safest play is to position yourself so the other two are forced toward each other. Avoid direct contact, hold the center or the cleanest dodge angle, and only commit to a fight when one of the two balls is already at low health or caught in a bad ring position. A 1v1 with a half-health opponent is a much better gamble than a 1v2 against two full-health balls.
This same logic is what makes the ball vs ball how to win match strategy translate to survival rounds. The skills are the same — read the attack, time the dodge, punish the miss — but the survival version of those skills adds a "do I need to fight at all" layer that changes the timing of every decision.
Reroll Decisions in Late Game
The official Ball VS Ball description on Roblox confirms that players can reroll their ball mid-battle when the roll is bad, which means a slow or fragile ball is not a death sentence if you are paying attention. In a free-for-all, holding a reroll for the final 1v1 is one of the most reliable ways to convert a survival position into a win, because it lets you trade a mid-game disadvantage for a late-game stat spike.
A practical rule from community data: reroll only when the current ball is actively losing you the match. A mediocre ball that you have learned to play is almost always better than a strong ball you have not tested, especially in the endgame when every dodge is muscle memory.
| Game Phase | Best Reroll Trigger | Ball Stat Priority | Risk Level |
|---|---|---|---|
| Opening 10 seconds | Always reroll once for a better starter | Speed + health | Low |
| Mid match (3-4 balls left) | Reroll only if current ball has no clear win path | Matchup-specific | Medium |
| Final 1v1 | Hold reroll until the opponent commits to an attack pattern | Raw damage or speed | High |
| After taking ring damage | Reroll if HP is below 50% of the lobby | Survival stats | Medium |
Practice Routines and Skill Tracking
The ball vs ball practice tips that actually move a player's rating are the ones you can repeat every session. Randomly queuing ranked matches and hoping to improve is the slowest path up the ladder; structured practice with a small set of drills is what pushes a player from silver-tier survival to the top of the leaderboard.
A 20-Minute Pre-Ranked Warmup
The most cited warmup structure from community players looks like this: 5 minutes of free movement in a private server, 5 minutes of 1v1 drills focused on dodge timing, 5 minutes of free-for-all survival rounds (no kills, just stay alive), and 5 minutes of full ranked matches to apply the habits. The opening movement phase is what most players skip, and it is the phase that most directly improves late-game survival because it locks in the muscle memory of neutral orbit.
| Warmup Block | Duration | Goal | Drill Detail |
|---|---|---|---|
| Free movement | 5 min | Lock in neutral orbit pattern | Move in slow circles near the center, dodge on a timer |
| 1v1 dodge timing | 5 min | Read single attacker windups | Survive 30-second rounds, no kills required |
| Free-for-all survival | 5 min | Multi-threat awareness | Reach the final 2 in at least 2 of 3 rounds |
| Ranked application | 5 min | Translate drills to real matches | Apply the same ring-read habits under pressure |
Tracking What You Are Actually Improving
Most players lose rank because they fixate on a single number (their win rate) and ignore the specific moments that cost them rounds. A simple post-match log of the last ball you died to, the ring phase you died in, and the dodge that put you in a bad position is enough to surface patterns over a week. The ball vs ball skill guide approach is to pick one weakness per session — ring awareness, dodge direction, reroll timing — and drill it on purpose rather than grinding matches.
If you find that your survival is solid but you cannot convert final 1v1s into wins, the ball vs ball combat guide covers the attack-side habits that pair with the survival drills above. Conversely, if your attacks are sharp but you keep dying in the final three, the survival focus of this guide is the right next step.
Mindset, Tilt Control, and the Climb
The mental side of being the last ball standing is what separates a player who climbs steadily from one who plateaus. Community data and player reports both point to tilt as the single biggest ranking killer once a player reaches the mid-to-high tiers, because the matches are tight enough that one bad decision snowballs into three more.
Playing the Long Session
A common community rule is to take a break after two consecutive losses in the final three. Not because you need rest, but because the decision-making in those rounds tends to be rushed — you chase the kill you "should have won" instead of the survival position that would have been the smarter play. The player who climbs consistently is the one who protects their rating by stepping away from the keyboard before tilt sets in.
| Session State | Recommended Action | Reasoning |
|---|---|---|
| 2 wins in a row | Keep playing, but check your dodge habits | Winning streaks can hide sloppy patterns |
| 2 losses in the final 3 | Take a 10-minute break | Tilting usually starts here |
| 3+ losses in a row | Switch to a practice server | Apply drills before risking more rank |
| First match of the day | Warm up in a private server | Cold-start reflexes are slower than players think |
Climbing the Leaderboard the Right Way
The leaderboard rewards players who survive, not players who farm kills. Players pushing into the top tier report that a defensive, ring-aware style consistently outperforms an aggressive playstyle once the matchmaking gets harder, because better opponents punish overextensions immediately. The ball vs ball leaderboard guide covers the broader habits of climbing, but the short version is: the closer the match, the more survival beats aggression.
Players who pair this guide's survival drills with the rank-up progression in the ball vs ball beginner guide tend to climb faster than players who skip the basics. Survival is a stack of small habits — ring reads, dodge discipline, reroll timing, mental control — and each layer compounds when you keep practicing it on purpose.
Frequently Asked Questions
What are the most important ball vs ball last one standing tips for beginners?
The most important habits for beginners are ring awareness, single-threat dodging, and the discipline to avoid fights in the final three. Most early eliminations come from overchasing a kill instead of holding a survival position, so focus on staying near the center and letting the ring and other players do the cleanup work.
How do I survive longer in free-for-all rounds?
Survive longer by pre-positioning for each ring contraction, dodging away from the closest threat rather than into a second attacker, and rerolling your ball only when the current roll is actively costing you the match. The neutral orbit pattern near the center is the single most reliable survival habit across all skill levels.
What is the best way to practice ball vs ball skills?
The most effective practice is a 20-minute warmup that includes free movement, 1v1 dodge timing, and free-for-all survival rounds before queuing for ranked. Tracking the round you died in and the dodge that put you in a bad position gives you a specific weakness to drill on the next session.
How do I rank up faster in Ball VS Ball?
Rank up faster by protecting your rating from tilt, taking breaks after two consecutive losses in the final three, and playing a defensive, ring-aware style once matchmaking gets harder. Aggression works in early ranks, but survival habits are what carry you into the top tiers where every opponent punishes overextensions.
Should I reroll my ball during the last one standing round?
Hold your reroll for the final 1v1 if your current ball is still functional, because muscle memory on a familiar ball usually beats a stronger roll you have not tested. Reroll mid-free-for-all only if the current ball has no realistic path to a win and the alternative is guaranteed elimination.