
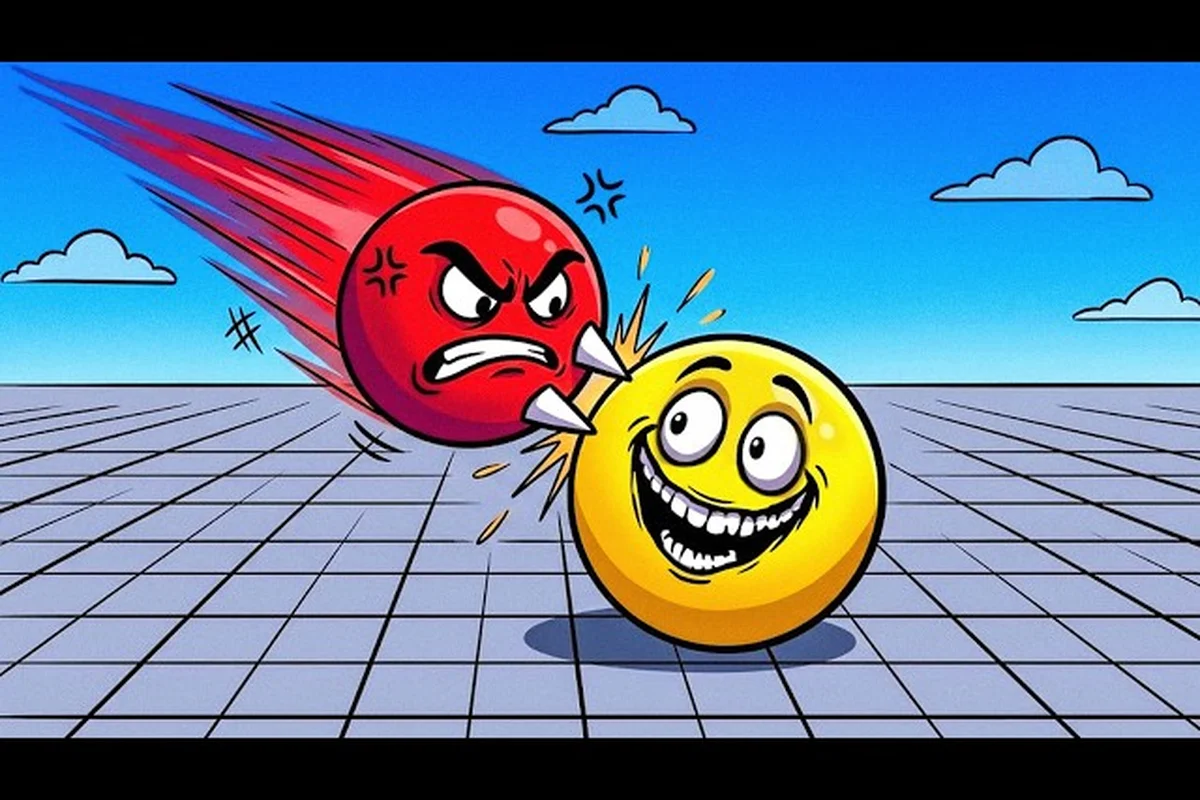
Power ups in Ball VS Ball are the abilities that decide whether you win or lose a one-on-one, and the three that show up most often in tight arena matchups are the dash, shield, and heal. Each one changes the rhythm of a fight in a different way: dash lets you close distance or escape, shield blocks incoming damage during a critical window, and heal recovers HP right when the round tilts against you. According to the official Ball VS Ball game page, the core loop is built around picking a ball, rerolling mid-battle when the draw is bad, and stacking wins to unlock stronger balls from the shop. Power ups are the layer that turns a bad ball into a winnable round, which is why learning the basics of ball vs ball power ups is a higher priority than chasing the rarest unlock.
How Power Ups Work in Ball VS Ball
Every ball you roll in Ball VS Ball comes bundled with a set of abilities, and the power up that fires on cooldown is usually the single biggest swing factor in the fight. The shop runs daily stock across Ball, Explosion, and Flyer families at Rare, Epic, and Legendary tiers, as confirmed in the Clout Brothers' full guide video, and higher-tier balls tend to roll more aggressive or more defensive power ups. The CHALLS beginner guide emphasizes that winning matches is the steady source of coins you need to chase those upgrades, which means even the best power up is wasted if you cannot convert rounds.
The Three Core Power Up Categories
Ball VS Ball's power ups split into three families that show up regardless of which ball you play. Ball attacks are contact and projectile strikes tied to the ball you chose. Special moves are the high-cooldown, high-impact abilities you hold for a key moment. Defensive tools like shield and heal let you survive the burst windows where most rounds are lost.
| Power Up Family | What It Covers | Typical Cooldown Feel | When to Use |
|---|---|---|---|
| Ball attacks | Dash, basic strike, projectile | Short to mid | Trade damage, reposition |
| Special moves | Ultimate, charged burst, AoE slam | Long | When the enemy commits |
| Defensive | Shield, heal, iframe roll | Mid to long | During enemy cooldowns |
The dash, shield, and heal trio is the most universal because nearly every ball in the shop rolls at least one of them. Learning when to fire each is more valuable than memorizing a specific ball's full kit, and it also makes reading the Ball VS Ball ability tiers list much easier once you understand the categories.
Why Power Ups Outvalue Raw Stats in Tight Rounds
Community testing reported by players on the Bax upgrade showcase (Upgrading The STRONGEST BALL in Roblox) shows that investing in one ball and pushing it far is the standard progression path, but even fully upgraded balls lose to a player who uses power ups on cooldown. The flat stat gap between a Rare and a Legendary ball shrinks fast once both players are firing abilities, and the player who times their dash, shield, and heal correctly usually takes the round.
The Dash Ability: Mobility, Engages, and Escapes
The dash ability is the most aggressive of the three core power ups and the one that decides whether you control the pace of the round. A well-timed dash either closes a gap that looked safe for the enemy or pulls you out of a combo before the killing blow lands. Because the cooldown is short relative to shield and heal, dash is the ability you will fire most often in a typical matchup, and learning to chain it with your basic ball attacks is the fastest way to climb out of low ranks.
When to Engage With Dash
Dashing in during the enemy's recovery frames is the single highest-value use of the ability, because most ball attacks leave the caster locked in a short animation. If you hold dash until you see the enemy commit to a strike or special, you can punish the recovery and stack free damage. Chasing down a low-HP opponent with dash into a basic attack is also a reliable finisher, especially when the enemy is already retreating toward the arena wall where they have less room to dodge.
When to Disengage With Dash
Saving dash as an escape is just as important as using it to engage, and players who spend the cooldown on every engage often lose the round right after. The right time to use dash defensively is when the enemy's ultimate or charged special is winding up, because most burst windows are shorter than the dash cooldown. Stepping out of the burst, then re-engaging once the enemy's big ability is on cooldown, is the pattern that separates mid-rank players from players who actually hold a win streak.
Common Dash Mistakes
The most common dash mistake is firing it on cooldown the moment the round starts, which usually means you arrive in the enemy's face with no follow-up and eat a punish. Another frequent error is dashing through a shielded opponent instead of around them, because shield absorbs the first incoming hit and many players forget that dash counts as a hit. The third mistake is using dash to chase a retreating ball that has heal ready, since heal will outheal your dash combo if the enemy is not pinned.
| Dash Scenario | Correct Use | Common Mistake |
|---|---|---|
| Enemy recovering from ball attack | Dash in, punish with basic | Wait too long and lose the window |
| Enemy ultimate charging | Dash away, wait out cooldown | Stand still and eat the burst |
| Low-HP enemy retreating | Dash to close, finish with strike | Dash into a shielded ball |
| Neutral start of round | Hold dash, bait a swing | Burn dash first, get punished |
The Shield Ability: Surviving the Burst Windows
The shield ability is the defensive anchor of every power up loadout, and the most common reason a round flips late is that one player runs out of shield uses before the other. Shield blocks the next incoming hit or the opening frame of a special move, which makes it the cleanest counter to a charging ultimate. Because the cooldown is longer than dash, the value of shield comes from picking the right two or three moments per round to actually use it instead of popping it the moment you feel pressured.
Reading the Enemy's Special Move Cooldown
The single most important shield habit is tracking the enemy's big ability cooldown, because shielding a basic attack is wasteful while shielding an ultimate is round-winning. Most special moves have a visible windup animation, a glowing telegraph, or a sound cue, and learning that tell for the popular balls is the cheapest way to stop bleeding HP. Once you can tell whether the enemy ball has its ultimate ready, you can hold shield for that exact window and trade one button press for a full heal of pressure relief.
Shield Versus Shield Matchups
Shield-versus-shield rounds are common in higher-rank matchups where both players know how to read cooldowns, and they tend to stall into whoever runs out of patience first. The correct play in a mirror match is to bait the enemy shield by throwing a weak ball attack, then commit a real combo while their shield is on cooldown. Chaining basic attack into dash into special once you see the shield break is the highest-percentage sequence, because each piece of the combo forces a response and the enemy can only block one of them.
Shield Cooldown Discipline
Holding shield for too long is a frequent leak in players who just learned the ability, because unspent shield feels wasted when the round feels long. The right discipline is to plan two shield activations per round: one to absorb the enemy's first big ability, and one to survive their second engage after your dash combo. Saving the third potential shield for a clutch finisher block is fine, but most rounds are decided before you ever get to a third use.
| Shield Use Case | Priority | Cooldown Cost |
|---|---|---|
| Block enemy ultimate | Highest | One full cooldown |
| Survive burst after your dash combo | High | One full cooldown |
| Block a basic attack | Low | Wasteful |
| Pre-emptive shield on round start | Lowest | Almost always wrong |
The Heal Ability: Refilling HP in the Mid-Fight
The heal ability is the third pillar of the core power up trio, and the one that decides long rounds where both players are trading evenly. Heal recovers a chunk of HP either instantly or over a short channel, and the value of heal is that it converts a losing round into a fresh trade window. Because most balls roll either a dash, a shield, or a heal as their defensive power up, the matchup you draw decides whether you play aggressive, defensive, or sustain-heavy.
When to Pop Heal
The safest heal windows are when the enemy is on cooldown from a big ability, because heal during a windup means the enemy has no follow-up damage to punish you. Healing at low HP under tower pressure is also strong, since the arena geometry usually gives you a corner to channel in. Healing while the enemy is mid-dash is the worst case, because dash plus a basic attack interrupts the channel and you lose both the heal and the HP you would have had by retreating.
Heal as a Bait Tool
Good players also use heal offensively as a bait, because many opponents will commit their ultimate the moment they see a heal animation. If you bait the enemy ultimate with a fake heal, you can shield the incoming burst and turn the round with a full counter-combo. The trick is that the bait only works once per matchup, so save it for a round where losing would actually cost you the match.
Heal Matchup Examples
| Matchup | Heal Priority | Notes |
|---|---|---|
| Versus dash-heavy ball | High | Outheal their poke, punish their dash cooldown |
| Versus shield-heavy ball | Medium | They will shield your combo, heal between exchanges |
| Versus heal mirror | Low | Race to the better engage, not the better heal |
| Versus ultimate ball | Highest | Heal to survive the ult, then counter |
Building a Power Up Game Plan
Most beginners lose more rounds than they should because they treat power ups as individual buttons instead of a rotation. The real skill is sequencing dash, shield, and heal into a single rhythm that matches the ball you rolled and the enemy you are facing. Below is a practical plan you can use for almost any matchup while you are still learning the full ability list.
The Standard Three-Button Rotation
The default rotation most players settle into is dash to engage, shield to absorb the enemy's response, and heal to recover the HP you spent on the exchange. Run that rotation twice in a row and you will win most neutral matchups, because the enemy usually runs out of defensive cooldowns before you do. The single biggest upgrade you can make to this rotation is to track the enemy's shield cooldown and only commit your full combo when their shield is down, which turns a coin-flip round into a favored one.
Adapting the Rotation to Your Ball
Different balls push you toward different parts of the rotation, and forcing a heal-focused game plan on a dash ball is one of the most common reasons new players feel like their ball is weak. Dash balls want you to spend the cooldown aggressively, shield balls want you to bait and counter, and heal balls want you to drag rounds out and out-trade the opponent. Picking the rotation that matches the ball you rolled is faster than trying to force a single playstyle, and the Ball VS Ball abilities overview is a good reference if you want to look up the kit of a specific ball you just unlocked.
Reading the Enemy's Power Up Pattern
The fastest way to climb is to read the enemy's power up pattern during the first 10 seconds of the round and then punish whichever cooldown they misuse. If they burn dash first, you know you have a free engage window once they overextend. If they pop shield immediately, you know you can dash in once it expires. If they panic-heal at full HP, you know their heal cooldown is wasted and you can run them down with a basic attack combo.
| Enemy Pattern | Counter Play |
|---|---|
| Dashes in immediately | Hold shield, punish the recovery |
| Opens with shield | Bait it with a basic, then dash combo |
| Heals at high HP | Apply pressure, force a real heal at low HP |
| Holds everything | Engage first, force a reaction |
Advanced Power Up Tactics
Once the basic rotation feels natural, the next layer of skill is using power ups to control space, not just to trade HP. Dash is also a zoning tool because it forces the enemy to respect your engage range, shield is also a tempo tool because it gives your team a free setup window, and heal is also a tempo swing because it converts a losing round into a neutral one. Playing for space instead of raw damage is what separates a player who can win one round from a player who can win five in a row.
Cooldown Tracking in Long Rounds
Cooldown tracking means keeping a mental count of how long since the enemy used each power up, and engaging only when the relevant cooldown is gone. Most abilities fall into a short, mid, or long cooldown band, and once you learn those bands for the popular balls you can plan your engage windows around them. The Ball VS Ball ultimate ability guide is a good reference for which big cooldowns to track, since ultimates are the most punishing to walk into.
Power Ups in the Shop and Reroll Economy
Coins earned from winning matches fund the shop, and the shop's daily stock decides which balls you can actually add to your roster. Because power ups are rolled into the ball rather than bought separately, picking the right ball is the only way to influence which power ups you have access to. According to community data referenced in the VendoPlus full guide (How to Play Ball Vs Ball Roblox), new players should focus on unlocking a balanced ball first and only chase the Legendary tier once they have a stable coin income.
Common Power Up Anti-Patterns to Avoid
| Anti-Pattern | Why It Loses | Fix |
|---|---|---|
| Using shield at round start | Wastes the cooldown on no damage | Hold shield for the enemy's first big ability |
| Healing at full HP | Throws away the heal window | Heal only below 60% HP |
| Dashing into a shielded ball | Eats a free punish | Wait for the shield cooldown, then dash |
| Holding dash forever | Never pressures the enemy | Commit dash on a clear engage window |
| Ignoring ultimate tells | Eats full burst | Track windup animation, shield the first frame |
Frequently Asked Questions
What does the dash ability do in Ball VS Ball?
The dash ability in Ball VS Ball is a short mobility burst that closes distance for an engage or pulls you out of an enemy combo, and because the cooldown is short it is the power up you will fire most in a typical round. The cleanest use is to dash in during an enemy's recovery frames, then chain into a basic ball attack for free damage.
How do I counter an enemy with the shield ability in Ball VS Ball?
The best way to beat a shielding opponent is to bait the shield with a weak ball attack, then commit your real combo once the shield is on cooldown. Chaining dash into a special move after the shield breaks is the highest-percentage punish, because the shield can only absorb one of the hits.
Is the heal ability worth using in Ball VS Ball?
Heal is one of the strongest power ups in Ball VS Ball when used at the right moment, because it converts a losing round into a fresh trade window. The best heal windows are when the enemy is on cooldown from their big ability, and the worst are when the enemy is mid-dash and can interrupt the channel.
Which power up should beginners learn first in Ball VS Ball?
Beginners should learn dash first, because it teaches engage timing, escape discipline, and cooldown tracking all at once. Once dash feels natural, add shield for defense, and finish with heal for the sustain layer, in that order.
How do power ups interact with ball rerolls in Ball VS Ball?
Ball rerolls in Ball VS Ball let you swap the ball you are playing mid-battle, which means you can also swap the power up kit you have access to in the middle of a losing round. According to the official game page, rerolling is the safety valve you should use when the draw is bad, especially before committing your first dash.