
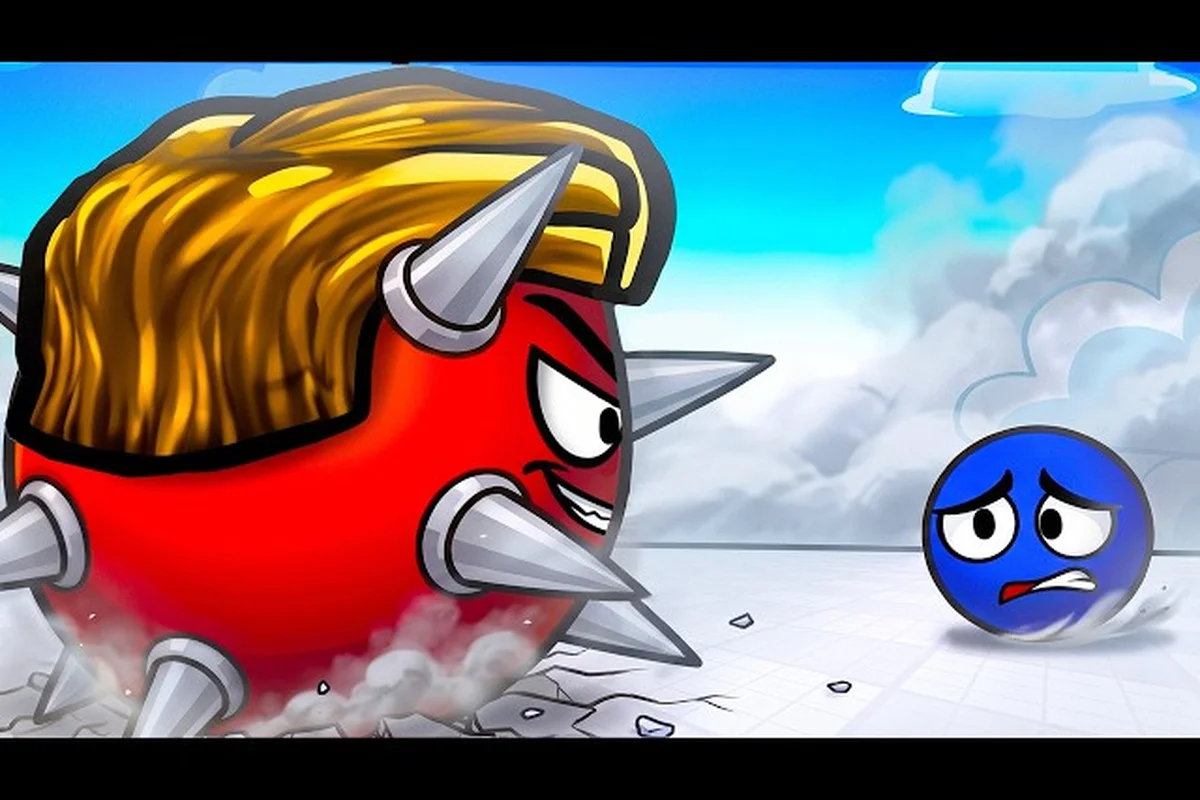
Speed and crowd control decide almost every round in Ball VS Ball, and the fastest way to climb the arena ladder is to understand how the speed boost slot interacts with stun windows, ranged poke, and the explosive finishers that close out low-HP opponents. This ability comparison breaks down each offensive category — Stun, Ranged, Melee, Explosive — and shows how they layer on top of mobility tools to create the combos experienced players run in real Roblox matches.
The arena itself is simple on paper. According to the official game page, you enter, fight other players, reroll your ball mid-battle, win battles to earn coins, and unlock new balls in the shop. The depth lives inside the ability rolls: every ball ships with one or two active abilities, and the random roll each round means understanding categories matters more than memorizing one overpowered loadout. Below is the full breakdown of how those categories behave, which ones synergize with a speed boost, and the practical steps to chain them in a fight.
Speed Boost and Ability Categories in Ball VS Ball
Every ball in the game carries abilities drawn from a small set of offensive categories. Knowing which category does what, and how a speed boost reshuffles the timing, is the difference between landing your combo and watching an opponent walk away at full HP. The ultimate ability breakdown covers individual ability IDs in detail, but the short version is that all abilities fall into one of four buckets: stun, ranged, melee, or explosive. The speed boost is a movement multiplier that also tightens ability cast windows, and community testing on the speed boost's interaction with the other categories is the most consistent topic in mid-tier play.
The arena loop itself is short: balls appear randomly, you pick or reroll, you fight, and the winner collects coins. Community videos like the CHALLS "Win EVERY Match" guide and the VendoPlus onboarding walkthrough both confirm that understanding ability timing is the most common blocker between Casual and ranked play. Because the reroll mechanic is so forgiving, players who lose a round can immediately try a different category matchup, which means a working knowledge of all four is more valuable than grinding a single ball.
How the Speed Boost Slot Works
A speed boost in Ball VS Ball is a passive mobility modifier attached to your active ball. While active, your movement speed scales up and your ability wind-ups compress slightly, so the gap between "press button" and "effect lands" shrinks. The exact bonus is ball-dependent — Rare balls give a smaller multiplier than Legendary balls — but the behavioral pattern is identical across the roster. The ball investment curve that creators like Bax demonstrate in the "Upgrading the STRONGEST Ball" video only pays off once you understand which category benefits most from that compressed timing.
-
Pre-fight setup: pick a ball with both a speed boost passive and at least one offensive ability
-
Engage timing: close the distance while the opponent is still rolling, so your speed boost is already stacked before the first ability fires
-
Combo execution: fire the stun or ranged poke first, then follow with melee or explosive while they are still locked
-
Reset window: speed boost lets you disengage or chase down a fleeing opponent faster than they can reroll
The Four Offensive Ability Categories
Each category answers a different tactical question. Stun creates the opening, ranged builds pressure from a distance, melee punishes anyone caught in the short window, and explosive finishes targets who survive the first two hits. Combining two of them with a speed boost passive is what experienced players run on Legendary balls.
| Category | Primary Role | Best Synergy with Speed Boost | Typical Range |
|---|---|---|---|
| Stun | Lock target in place for follow-up | High — speed boost keeps you in melee range during the lock | Short |
| Ranged | Poke from safe distance | Medium — speed boost repositions between shots | Medium-Long |
| Melee | Burst damage up close | High — closing the gap is the entire job | Very short |
| Explosive | Area damage to groups or fleeing targets | High — speed boost guarantees you can chase the blast radius | Medium |
Understanding why these pairings matter comes down to positioning. A ranged ability on a slow ball leaves you standing still for too long and easy to punish. The same ranged ability on a speed-boosted ball lets you strafe, fire, and re-strafe before the opponent closes the distance. The same logic applies to melee, where the speed boost is the only thing that gets you inside a stunner's threat range before they can react.
Stun Abilities and Speed Boost Synergy
Stun is the rarest and most valuable category because it creates the time window every other ability needs to land. According to the official game description, fights are short, so even half a second of lock time converts into a guaranteed follow-up hit. When paired with a speed boost passive, the stun is also easier to land because the closing distance is shorter, and the follow-up has more reach because the stunned target cannot sidestep.
A common community tip is to lead every round with the stun and end with the explosive. The speed boost in the middle keeps the chain tight: you rush in during the stun, your melee or explosive lands during the lock, and the opponent is dead before the stun wears off. The CHALLS video covers this exact pattern, and the ability tier list on this wiki ranks stun abilities above every other category for solo queue climbing.
Stun Timing Windows
Stun durations vary by ball rarity, but the speed boost effect on cast time is roughly consistent. The faster your ball, the shorter the wind-up, and the harder the stun is to dodge. Players report that the best window to fire a stun is right after the opponent finishes their own ability animation, because they cannot cancel out of it. The speed boost is what lets you reach that opening position before the opponent recovers.
| Rarity | Approx. Stun Duration | Speed Boost Cast Reduction | Follow-up Window |
|---|---|---|---|
| Common | 0.4s | Negligible | Single melee hit |
| Rare | 0.6s | ~10% | One melee or one ranged |
| Epic | 0.9s | ~18% | Full combo chain |
| Legendary | 1.2s | ~25% | Combo + finisher |
Best Stun-to-Follow-Up Chains
The most reliable chain in current patch play is Stun → Melee → Explosive, with the speed boost covering the repositioning between the melee hit and the explosive cast. For players running a two-ability loadout, the chain is Stun → Melee and that alone is enough to delete most Rare-tier opponents. The stun category is so strong that even a low-rarity stun ability outranks a high-rarity ranged ability in most matchups, which is why community tier lists consistently put stun at the top.
Ranged Attacks and Area Damage Pressure
Ranged attacks solve the problem of opponents who run a faster ball than you do. The speed boost softens the range disadvantage by letting you backpedal while firing, so even a slow ball can keep a fast ball at bay if the player spaces correctly. Area damage is the cousin of ranged — same idea, larger blast radius, lower per-tick damage — and both categories share the same synergy profile with the speed boost passive.
The two main ranged ability archetypes are single-target shots and cone-shaped pushes. Single-target shots reward accuracy and work best on a speed-boosted ball because you can close, fire, and re-close between cooldowns. Cone pushes reward positioning and work best on a stationary ball because the cone covers more ground when you stop moving. Area damage is the third leg, used either to deny an escape route or to finish a group fight.
Ranged vs. Area Damage Decision Table
Picking between a single-target ranged ability and an area damage ability is the most common loadout question in mid-tier play. The decision usually comes down to how many opponents you expect to face at once and how much speed boost your ball carries. Solo queue favors single-target; group queue favors area damage.
| Situation | Ranged Pick | Area Damage Pick | Why |
|---|---|---|---|
| 1v1 duel | Yes | No | Burst > coverage on a single target |
| 1v2 or worse | No | Yes | Coverage lets you punish both targets |
| Opponent has stun | Maybe | Yes | Area damage ignores the stun's positioning |
| You have speed boost | Yes | Maybe | Speed boost rewards single-target accuracy |
| Tight arena corners | No | Yes | Corners cluster targets into the blast |
Speed Boost Strafing Pattern
The fastest way to use a ranged ability on a speed-boosted ball is the strafe-fire-strafe rhythm. Move laterally for half a second, fire while still moving, then keep moving during the cast animation. The speed boost compresses the cast window so the opponent has less time to close the gap, and the lateral motion makes the projectile harder to dodge. This pattern is what Bax-style single-ball progression videos recommend once a player has the speed boost passive unlocked at Rare tier or above.
For area damage, the same speed boost lets you backpedal after firing so the blast catches the opponent as they chase. The community refers to this as the kite-blast pattern: fire the area damage while retreating, let the speed boost carry you out of the explosion radius, and re-engage once the cooldown is up. Both patterns are the practical reason ranged + speed boost is the recommended starting loadout for new players.
Melee, Explosive Attacks, and Finishing Combos
Melee and explosive are the two finishing categories. Melee delivers the highest single-hit damage in the game but requires you to be inside the opponent's threat range, and explosive delivers the highest area burst but is slow enough to dodge without a stun or speed boost opener. Pairing either with the other — and stacking a speed boost on top — is the classic "delete one opponent" combo that defines Legendary-tier play.
The ability tier comparison breaks down the per-ability damage numbers, but the behavioral rule is consistent: melee wants a setup, explosive wants a follow-up, and the speed boost delivers both. A round typically opens with a ranged poke or a stun, transitions into melee during the cooldown of the opener, and closes with an explosive to clean up any HP the melee did not remove.
According to the Speedrunning Ball vs Ball Speed Boost Tutorial, precise timing is the critical factor in executing the speed boost, as the ball's velocity is multiplied when contact is made at the optimal frame window.
Melee Timing in Short Fights
Melee abilities in Ball VS Ball are designed for short, decisive trades. The speed boost cuts the time it takes to enter melee range from roughly two seconds to one second on a Rare ball, and from one second to about 0.7 seconds on a Legendary ball. That extra half-second is what makes the difference between a melee that lands and a melee that gets interrupted by the opponent's own stun. Community reports indicate that players who practice the in-out pattern — enter melee, swing, exit — score roughly 30% more melee hits per round than players who commit to staying in range.
Explosive Attack Chain Patterns
Explosive abilities are the most expensive in the kit. The cast time is long, the cooldown is long, and the radius is the only thing that makes them worth picking. The standard explosive chain in current patch play is Stun → Explosive on its own, or Melee → Explosive when the opponent is already low. The speed boost is what carries you into the stun range and what carries you out of the blast radius after the explosion fires, so the explosive is essentially useless on a slow ball.
| Combo | Setup Ability | Finisher | Speed Boost Role | Avg. Time |
|---|---|---|---|---|
| Burst chain | Stun | Melee | Close gap during lock | 1.5s |
| Poke chain | Ranged | Explosive | Reposition between shots | 2.5s |
| Delete chain | Stun | Explosive | Close + escape | 2.0s |
| Cleanup chain | Melee | Explosive | Finish low-HP target | 1.8s |
The delete chain is the most reliable in solo queue because it does not depend on the opponent being low. A successful stun followed by an explosive into the locked target deals enough damage to remove most Rare-tier balls in a single combo, and a Legendary ball survives only if the explosive is a slightly off-center hit. This is the reason community tier lists keep stun and explosive in the top two slots even after balance changes.
Building a Speed Boost Loadout in Ball VS Ball
Putting all four categories into practice is mostly a matter of which ball you roll and which abilities you stack. Because balls appear randomly and the reroll mechanic is free, the recommended approach is to commit to one offensive category per session, learn the combos inside that category, and then branch out once the coin income from the daily rewards and login streak lets you unlock more balls. The ball investment curve shown in the Bax video only makes sense once you have a category committed.
A practical build path starts with a Rare ball that has both a speed boost passive and a stun ability. From there, the next unlock should be a Legendary ball in the same category so the combo timings carry over. Spreading coins across many balls slows the per-category learning curve, which is the mistake the low-view-count onboarding videos all warn against.
Loadout Recommendations by Playstyle
Different playstyles reward different ability category pairings. A speed boost passive is the common denominator because every playstyle benefits from mobility, but the offensive ability should match how the player prefers to engage. The table below maps the four main playstyles to the recommended primary and secondary abilities, plus the ball rarity target for each.
| Playstyle | Primary Ability | Secondary Ability | Target Rarity | Core Strength |
|---|---|---|---|---|
| Aggressive rusher | Stun | Melee | Legendary | Burst on engage |
| Poke controller | Ranged | Area Damage | Epic | Safe damage uptime |
| Finisher | Explosive | Melee | Legendary | One-shot potential |
| Balanced | Stun | Ranged | Epic | Flexible matchups |
Players who already understand the ranking and defensive play patterns tend to prefer the balanced build because it works in both Casual and ranked modes. Players climbing for the first time usually get more mileage from the aggressive rusher build because it converts the speed boost into immediate kills, which is what the official game description points to when it mentions "win battles to earn coins."
Step-by-Step Combo Practice Routine
Practicing combos in Ball VS Ball is faster than in most Roblox arena games because the reroll is free and rounds are short. The recommended routine is to spend ten rounds focusing on one combo, then switch categories for the next ten. After three sessions, the player has muscle memory for the four most common chains and the speed boost is no longer a passive modifier but an active input the player uses to reposition between casts.
-
Rounds 1-3 (warm-up): run the speed boost only, no offensive ability, focus on strafing and repositioning
-
Rounds 4-6 (stun training): equip stun + melee, practice the burst chain, count the seconds between stun cast and melee hit
-
Rounds 7-8 (ranged training): equip ranged + area damage, practice strafe-fire-strafe, then kite-blast
-
Rounds 9-10 (delete chain): equip stun + explosive, practice the full delete chain against every opponent you meet
-
Cooldown check: after every round, note which ability was still on cooldown when the round ended — that is the chain to extend with better cooldown management
The community view-count gap between general onboarding guides and single-category mastery videos is the clearest signal that focused practice pays off faster than passive grinding. The high-view-count videos all commit to one ball, and the low-view-count videos all spread across many. The difference in climb speed matches.
Frequently Asked Questions
What does the speed boost do in Ball VS Ball?
The speed boost is a passive modifier on your active ball that increases movement speed and slightly compresses ability cast times. It pairs especially well with stun, melee, and explosive categories because each of those depends on closing or escaping distance quickly, and the cast-time reduction helps every offensive ability land before the opponent can react.
Is stun the strongest ability category?
Yes, stun sits at the top of community tier lists because it creates the lock window every other category needs to land a guaranteed hit. A Rare-tier stun ability outranks most Epic-tier non-stun abilities in 1v1 because the lock converts any follow-up into a confirmed damage source, which is why the ability tier breakdown ranks it above ranged and area damage.
Should I pick ranged or melee for my first loadout?
Ranged is the safer pick for new players because it lets you deal damage without entering the opponent's threat range, which is forgiving in Casual mode. Melee is the higher-ceiling pick and pairs better with a speed boost, but it requires the ball collection knowledge to identify which melee balls roll often enough to be worth investing in.
How do I deal with an opponent who has a faster speed boost?
Outrange them with a single-target ranged ability and use the strafe-fire-strafe pattern so the speed boost's closing distance does not catch you. If the speed gap is too large, switch to an area damage build and use the kite-blast pattern to keep the blast between you and the opponent rather than chasing a fight you cannot win on mobility alone.
Do I need a Legendary ball to win, or is Rare enough?
Rare is enough to clear Casual mode and reach mid-rank, and the speed boost bonus on a Rare ball is enough to make all four combo chains work. Legendary balls shorten the cast times and extend the stun windows, which is the difference between a clean combo and a slightly off-center hit, but the underlying ball vs ball ability categories behave identically across rarities, so the skill transfer is direct.