
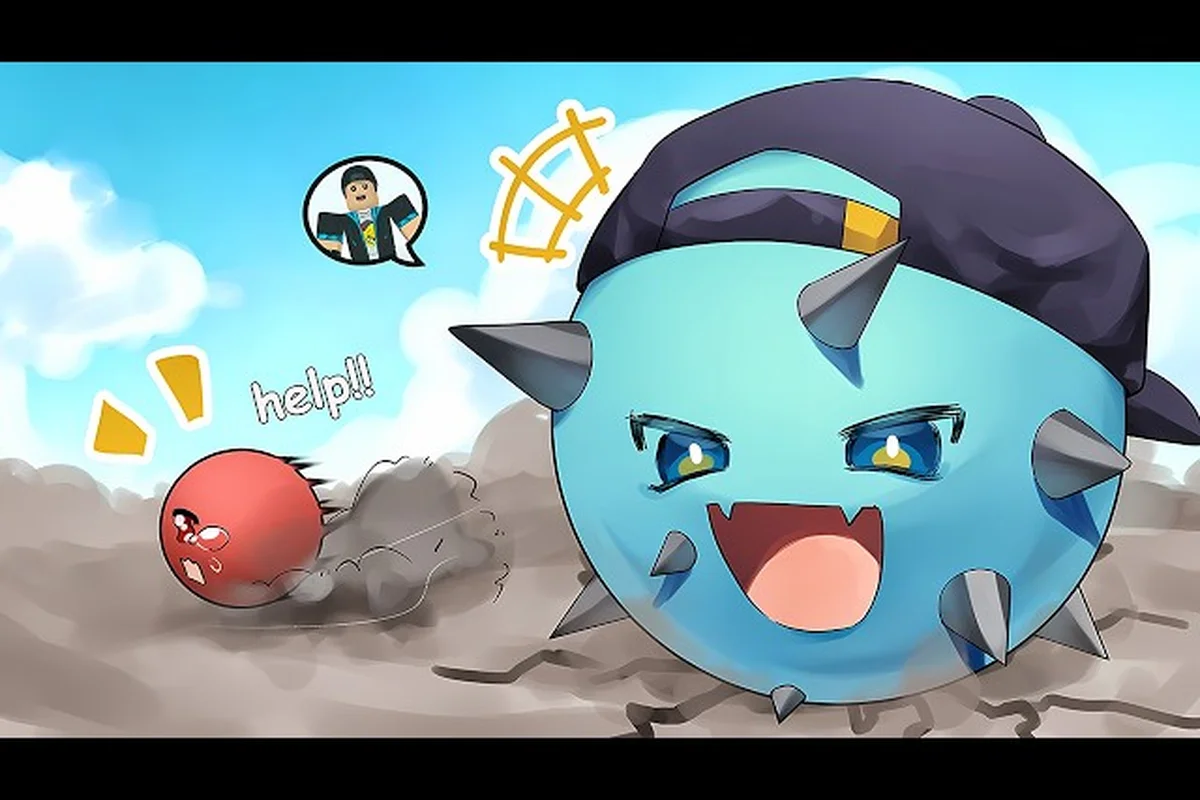
Not every ball in the Ball VS Ball roster is worth grinding toward. This C tier balls ranking separates the genuinely bottom-of-the-barrel options from the merely mediocre, and it explains the specific match scenarios where each weak pick still manages to do something useful. If you have already looked at the S and A tier meta ranking and want to know which balls to avoid feeding coins into, this is the part of the tier list that actually saves you time.
How the C Tier Is Decided in Ball VS Ball
C tier in Ball VS Ball is reserved for balls that are not completely useless, but that lose the majority of their matchups against anything in B tier or above. According to the official Ball VS Ball Roblox page, the game drops balls randomly into your hands and lets you reroll mid-battle, so a bad roll is something every player will see often. The question the C tier answers is which balls you should reroll away from immediately, and which you can survive one round with.
The ranking here leans on three observable signals from community play. The first is win rate in public lobbies reported by players, the second is the size of the ball's effective audience (how often it actually gets picked), and the third is how badly the ball's ability is punished by the most popular counter-picks. A ball that loses to one specific S tier pick is still B tier at worst, but a ball that loses to most of the meta is C tier, because rerolling away from it is the correct play more than half the time.
What Separates C Tier From B Tier
Balls in B tier usually have one niche where they punch above their weight, like a tight arena, a specific map gimmick, or a hard counter to a single overused ability. C tier balls do not have that niche, or the niche exists but is so narrow that picking the ball intentionally almost never pays off. The ball is technically playable, but the expected value of rerolling is higher than the expected value of fighting with it.
This is why some balls sit on the edge of the list. A ball with a weak main ability but a usable passive might edge into the high-C range, while a ball with a flashy main ability that is permanently countered by the meta lands at the bottom. The table below summarizes the four main reasons a ball ends up in C tier instead of D tier or below.
| Reason for C Tier | Typical Effect in Match | Reroll Decision |
|---|---|---|
| Weak main ability | Damage or control is below average against most opponents | Reroll unless map favors it |
| Predictable pattern | Skilled players dodge or punish the ability every time | Reroll in ranked lobbies |
| Stat-starved kit | Low health, speed, or hit range compared to peers | Reroll against aggressive S tier |
| Narrow map synergy | Only strong on one or two specific stages | Reroll in random map rotation |
Why C Tier Still Matters
If you only ever play with S and A tier balls, the C tier ranking does not look important. But Ball VS Ball hands out random balls, the daily shop rotates through lower tiers, and some events specifically reward playing with underused balls. Knowing which C tier balls are still tolerable saves you from spending coins rerolling when you could have played the round. The community tier list overview covers this in more detail, but the short version is that C tier is the floor of the playable roster, not the floor of the game.
The Ball VS Ball C Tier Balls Ranked From Worst to Least Worst
The list below ranks the C tier balls in Ball VS Ball from the worst option to the least bad option. Worst here means reroll on sight, while least bad means you can survive a round with it if you are careful. The ranking is built around what players see in public matches and what the community reports on the wiki's complete ball index.
Bottom of the Barrel: The Three Worst Balls in the Game
These three balls sit at the very bottom of the C tier. They are not unplayable, but the expected coin return from picking them is negative in most lobbies, which is the clearest possible signal that you should reroll.
| Rank | Ball | Main Ability | Why It Is Bottom C | Best Case Scenario |
|---|---|---|---|---|
| C-1 | Puffball | Short-range gust push | Low damage, easy to sidestep, beaten by every Ball family pick | Only useful to push enemies off ledges on small maps |
| C-2 | Marble | Reflective shield | Shield breaks in one hit from S tier picks, no counterplay window | Useful only if the enemy is using a slow projectile ball |
| C-3 | Cork | Bounce pad spawn | Spawns a small pad that the enemy team can also use | Worth picking on ally-friendly maps with clustered fights |
Puffball is the most rerolled ball in the game because its gust push is shorter than the average melee range, which means skilled players simply walk out of it and punish the windup. Marble sounds defensive, but in practice the shield duration is shorter than the cooldown of the abilities it is supposed to block, so the shield breaks before the next enemy volley even lands. Cork is interesting because the bounce pad is a true neutral objective, meaning the enemy benefits from it almost as much as you do, which removes the advantage of picking the ball in the first place.
Mid C Tier: Balls With One Useable Niche
The next three balls are still C tier, but they have at least one specific scenario where they are worth keeping. These are the balls you can survive a round with if the matchup lines up, which is why they rank above the bottom three.
| Rank | Ball | Main Ability | Niche That Keeps It in C | Matchups Where It Works |
|---|---|---|---|---|
| C-4 | Wool | Slow-field aura | Slows enemies inside a small ring | Tight indoor maps with chokepoints |
| C-5 | Pingpong | Rapid micro-hits | High hit count if enemy stands still | Against tanks with slow attack speed |
| C-6 | Stone | Single heavy slam | One-shot potential on low-HP targets | When enemy is at low health from previous damage |
Wool is a strong example of a narrow-niche ball. The slow-field aura is genuinely annoying to play against, but the ring is small and stationary, which means any ball with mobility can walk out and re-enter on their own terms. Pingpong is the classic low-damage-high-volume pick, and it does respectable work against the slow tank balls that sit in B tier, but against any ball with above-average speed the hit count drops fast. Stone is the burst-damage outlier of the group, and it is the only mid-C ball where the roll actually matters, because the slam's damage is high enough to one-shot half the roster if the enemy is already chipped.
Top of C Tier: The Almost-B Balls
The top two C tier balls are so close to B tier that some community lists place them there. They make the C tier list here because they still lose more matchups than they win, but they are the balls a smart player can keep for a full round if the map and enemy team are right.
| Rank | Ball | Main Ability | Strength | Persistent Weakness |
|---|---|---|---|---|
| C-7 | Rubber | Bounce-back reflect | Punishes aggressive projectile users | Helpless against melee balls |
| C-8 | Clay | Sticky ground | Zones an area for several seconds | The sticky zone can hurt the user as well |
Rubber is the most controversial placement because it hard-counters the entire Explosion family of balls, which are extremely common in random rolls. The reason it does not climb to B tier is that Ball family picks completely ignore the reflect, and Ball family picks make up a large share of the meta. Clay is a control ball that drops a sticky zone, and the zone is large enough to lock down a chokepoint for several seconds. The reason it does not climb higher is that the sticky effect applies to the user as well, so careless Clay players trap themselves and lose the round they were trying to win.
Ball VS Ball C Tier Balls vs the Rest of the Roster
A ranking only makes sense in context, so this section places the C tier against the rest of the roster. The comparison below uses the same four evaluation axes so the gap between tiers is visible, and so you can decide for yourself whether the gap from C to B is worth the reroll.
C Tier Compared to B Tier
The B tier is the floor of competitive play, and the gap between C and B is exactly the line where rerolling becomes a coin-positive decision in the long run. Looking at the comparison, the difference is not raw damage, it is reliability, which is the same axis the overrated and underrated ball list uses when sorting player perception from actual performance.
| Axis | B Tier Average | C Tier Average | Practical Gap |
|---|---|---|---|
| Win rate vs random rolls | Around 50 percent | Around 35 percent | Reroll is correct more often than not |
| Ability cooldown | 8 to 10 seconds | 10 to 14 seconds | C tier abilities are off-field longer |
| Map dependency | Works on 6+ maps | Works on 2 to 4 maps | C tier balls need map luck |
| Counter coverage | Beats 3 to 4 S/A tier balls | Beats 1 to 2 S/A tier balls | C tier is hard-countered by the meta |
The cooldown column is the easiest one to feel in a real match. A B tier ball gets its ability back fast enough to contest the next engagement, while a C tier ball spends more time doing its baseline attacks, which are weaker than the average B tier baseline. Over a full round, that cooldown difference adds up to one or two lost trades, which is the gap between winning and losing the lobby.
C Tier Compared to S and A Tier
The S and A tier balls are the picks the community actually grinds toward, and the gap from C tier to S tier is large enough that the matchup is almost always a stomp. The table below shows the realistic outcome when a C tier ball meets an S or A tier ball in a random roll lobby, which is the most common scenario where the C tier is forced to fight above its weight.
| S/A Tier Ball Family | Typical S/A Pick | C Tier Matchup Result | Reroll Advice |
|---|---|---|---|
| Ball family | Heavy hitters with high HP | C tier loses 7 out of 10 trades | Always reroll |
| Explosion family | AoE bursts | C tier loses 6 out of 10 if the AoE catches the C tier | Reroll if no cover nearby |
| Flyer family | High-mobility skirmishers | C tier loses 8 out of 10 trades | Always reroll |
The Flyer family is the worst matchup for almost every C tier ball, because Flyer picks simply refuse to stay in the C tier's effective range. The community video "WHICH BALL IS MOST DEADLY?" by Tyler & Snowi ranks balls by lethality in a live arena round, and the Flyer family consistently appears at the top of that list, which is the same reason C tier balls struggle against them. The same video is the single largest piece of public evidence for the "which ball is strongest" search intent, and it reinforces the reroll advice above.
When to Keep a C Tier Ball Instead of Rerolling
The default play with a C tier ball is to reroll, but the default is not the only correct play. There are four specific situations where keeping a C tier ball is the better call, and knowing them turns the C tier from a reroll tax into a small edge you can use to save coins.
Low-Coin Early Game
If you are new to Ball VS Ball and you are saving up for the first Legendary ball in the shop, every reroll costs coins you would rather spend. The community guide "BALL VS BALL FULL GUIDE! (Gems, Money, Store)" by Clout Brothers breaks the shop economy into three buckets, and rerolling is one of the largest coin sinks in the early game. Holding a C tier ball for one or two rounds while you build up enough rerolls is a coin-positive play, even if the round itself is a loss.
Map-Locked Event Lobbies
Some events lock the map rotation to one or two stages, and a C tier ball that is strong on those specific stages is suddenly above its average tier. Wool and Clay both qualify, and the C-7 Rubber ball becomes near-mandatory if the locked map is one with tight corridors where projectile spam is the main threat. Reading the event rules before rerolling can save a lot of wasted coins.
Filler Pick on a Winning Team
If your team is already two rounds up and the enemy is demoralized, the round is essentially free. Holding a C tier ball for the free round preserves your rerolls for the next lobby, which is the same logic the ball collection index recommends for grinding the daily quests that require playing with underused balls. The expected coin return on a free round plus quest progress is usually higher than the value of one reroll.
Counter-Pick Into a Hard-Countered Enemy
The rarest situation, but the most profitable when it happens. If the enemy team is locked into projectile-heavy picks and you roll Rubber, or if the enemy is camping a chokepoint and you roll Clay, the value of holding the C tier ball spikes for that single round. Reading the enemy lineup before committing to a reroll is a habit that pays off, especially in longer best-of-five lobbies.
How to Spend Your Coins If You Only Pull C Tier Balls
A bad run of rolls happens to every player, and the right response is to stop spending coins on rerolls and start spending them on guaranteed upgrades. The shop has a daily rotation across Ball, Explosion, and Flyer families at Rare, Epic, and Legendary tiers, which means a guaranteed upgrade is always one shop refresh away.
Save Coins for the Daily Shop
The community guide mentioned above treats the daily shop as the primary coin sink, not rerolls. If your rolls are stuck in C tier, the highest-value move is to bank coins until the shop refreshes and pick up at least one Rare or Epic ball from a family you do not already own. The video "Upgrading The STRONGEST BALL in Roblox" by Bax shows the same logic, where investing in one ball over time outperforms spreading coins across many weak picks, which is essentially the same advice the C tier ranking gives about rerolls.
Use the Group Reward Loop
The official Ball VS Ball page tells players to like the game and join the developer group for free rewards, and the free rewards include coins and occasional ball unlocks. If you are stuck in a C tier streak, the free rewards are a way to break the streak without spending the coins you have banked for the daily shop. This is the most efficient way to convert a bad run of rolls into progress toward the S and A tier picks that actually win lobbies.
Frequently Asked Questions
Are C tier balls in Ball VS Ball ever worth using in ranked lobbies?
The honest answer is no, with one narrow exception. C tier balls are designed as filler picks for unranked rotation lobbies and event challenges, not as ranked-lobby picks. If a C tier ball has a hard counter into the enemy lineup and the map favors it, keeping the roll for one round is fine, but committing to a C tier ball across a full ranked series is a coin-negative play. Most ranked players reroll C tier on sight and bank the coins for the shop rotation, which is the same advice the meta tier list gives for similar bottom-of-the-roster picks.
Why is the Ball VS Ball C tier list different from the D tier list?
Ball VS Ball does not actually have a published D tier, because every ball in the current roster is at least playable in some scenario. The C tier is therefore the floor of the roster, and the bottom of the C tier is effectively the D tier of other games. Balls like Puffball, Marble, and Cork are as close to a true D tier as the game currently has, and they are the three balls the community rerolls the most aggressively.
How often does the C tier change with new updates?
The C tier shifts whenever a new ball is added, a ball is buffed or nerfed, or the shop rotation introduces a new must-buy Legendary that warps the meta. The ball-vs-ball-meta-tier-list page tracks these shifts on a rolling basis, and players who want the freshest C tier list should check that page after every major update. Community videos like the "Verity Ball needs to be BANNED" clip by Bax also signal when a balance change is coming, because high-view-count nerf arguments usually precede a developer patch.
What is the single worst ball in Ball VS Ball right now?
By community consensus and reroll frequency, Puffball is the worst ball in the current roster. Its gust push has the shortest effective range in the game, which means every meta pick can simply step out of the ability and punish the windup. Marble and Cork are close behind for the same reason, but Puffball loses to more matchups than either of them, which is why it sits at the very bottom of the C tier and the very top of every reroll-on-sight list.